Setting Up Webhooks
A webhook tells your own system the moment something happens in AirSign - a session is completed, a recipient declines, a template changes, a compliance document is about to expire. Each event is sent to an address you choose as signed JSON, so a developer can file signed contracts against a job, update a CRM or kick off the next step automatically.
Where to find it
Step 1: Add a webhook
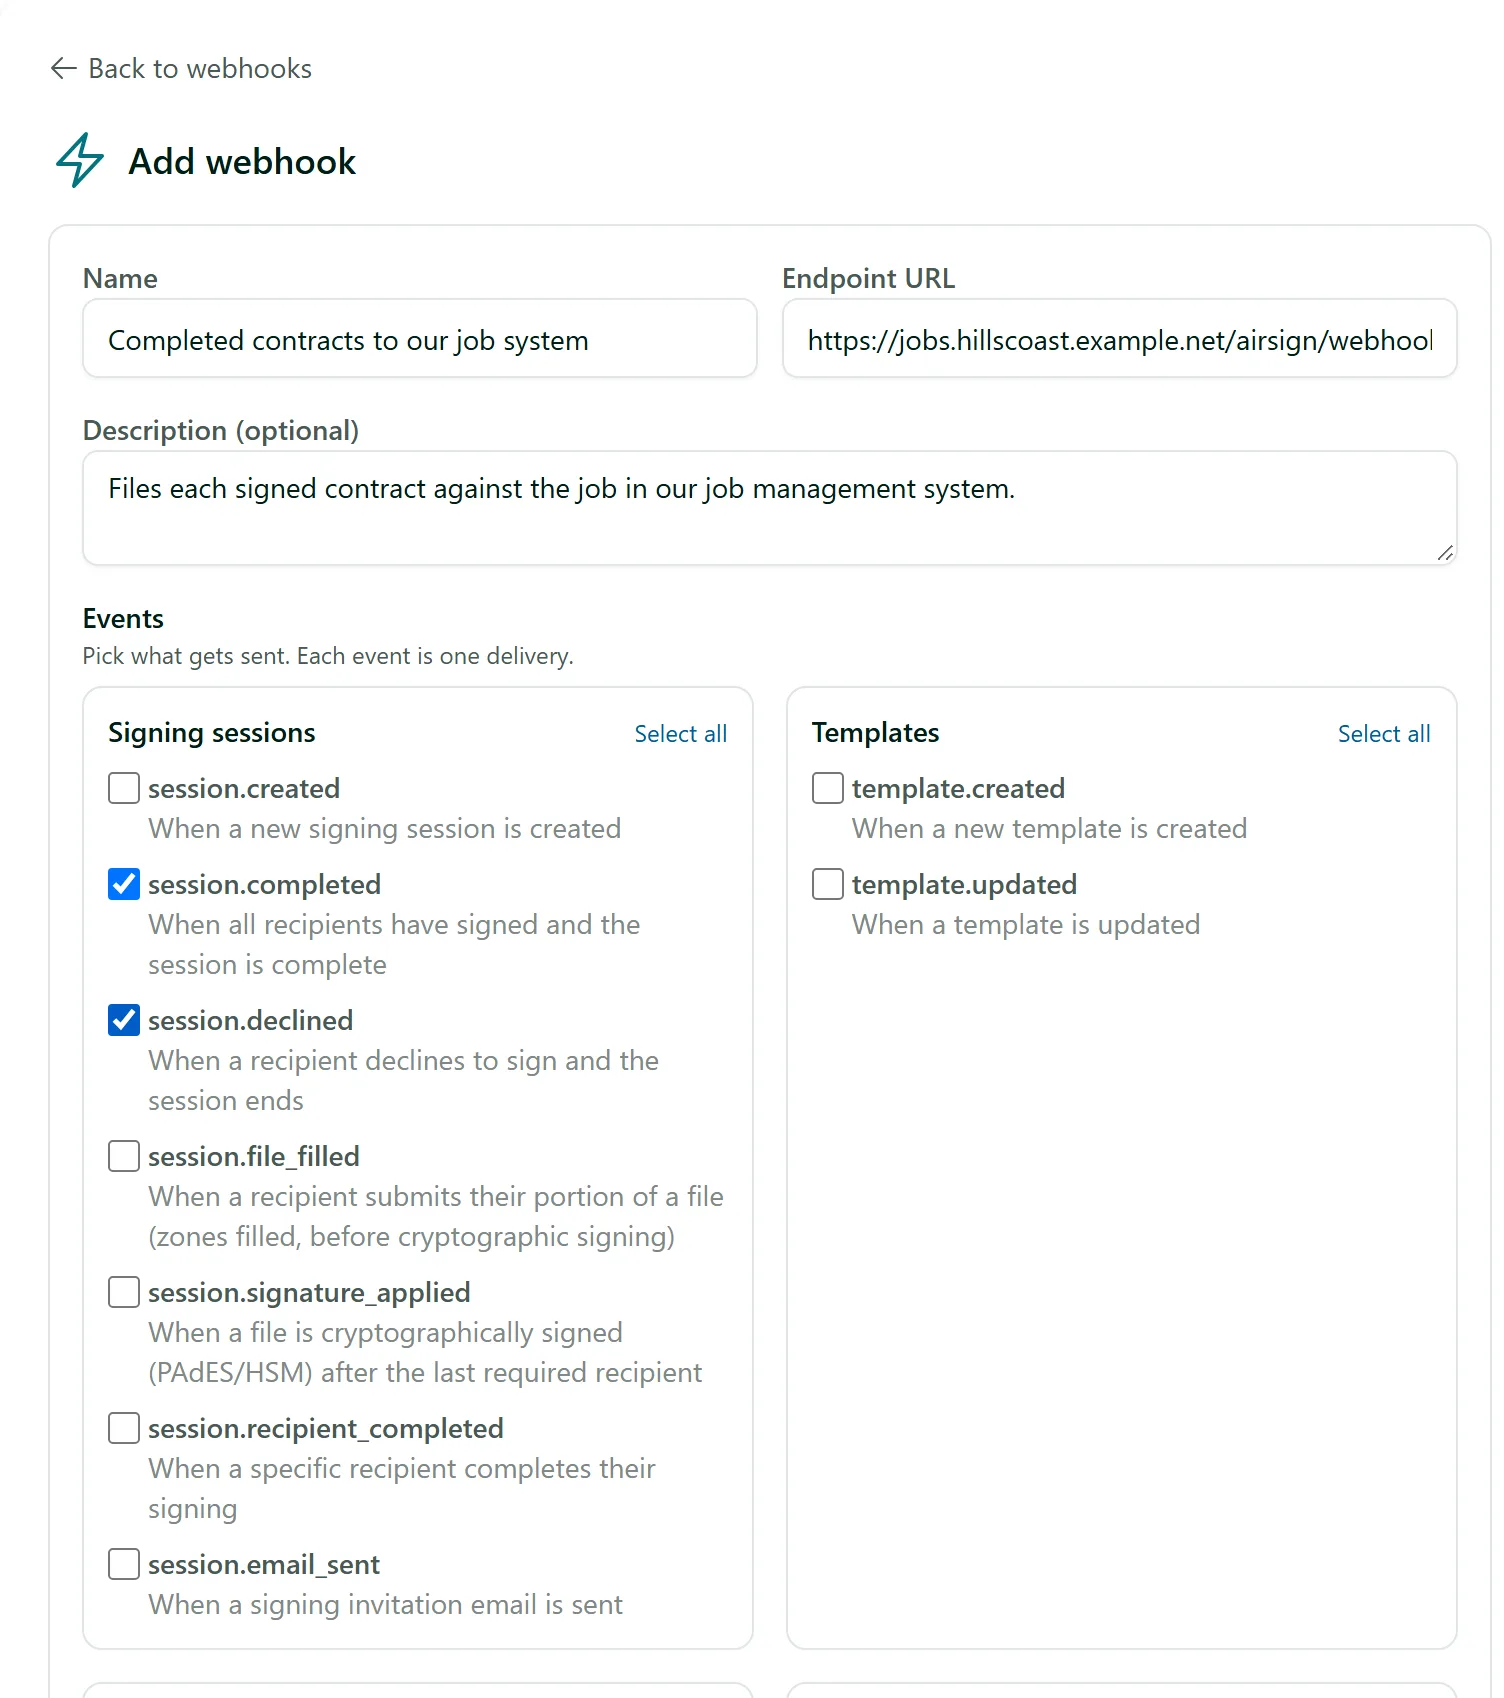
Click Add webhook. Give it a Name your team will recognise, paste the Endpoint URL your developer gave you (it must start with https://) and, if you like, a Description.
Step 2: Pick the events
Under Events, tick what should be sent. They are grouped into Signing sessions, Templates, Compliance documents, Training and Forms, each with a one-line explanation; Select all ticks a whole group. Each event is one delivery, so only tick what your system uses. Then click Save webhook.
Step 3: Copy the signing secret
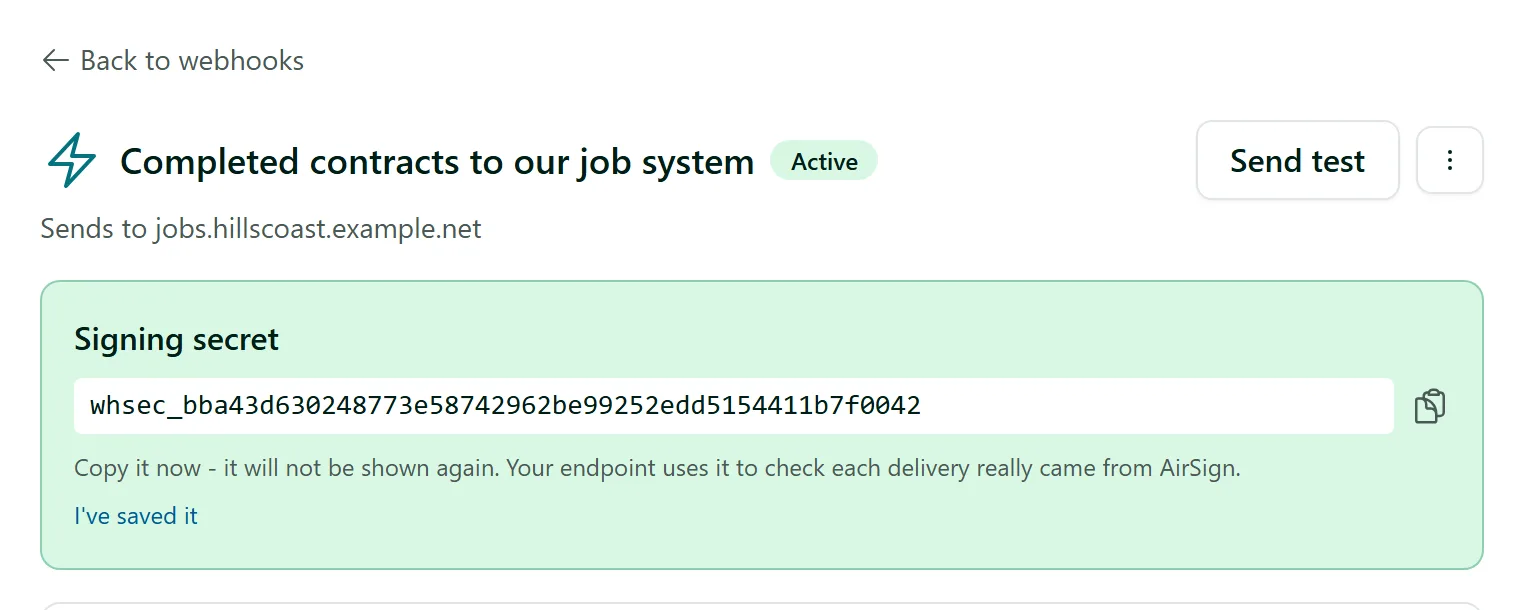
After saving, AirSign shows the webhook's Signing secret once. Copy it and give it to your developer, then click I've saved it. Their endpoint uses it to check every delivery really came from AirSign (the How to verify a delivery panel on the Webhooks page has the details and sample code).
Step 4: Send a test and watch the deliveries
Click Send test to post a sample event to your endpoint straight away. The webhook's page lists the Recent deliveries - the last 50, newest first - and clicking one shows exactly what was sent and what came back.
Step 5: Manage your webhooks
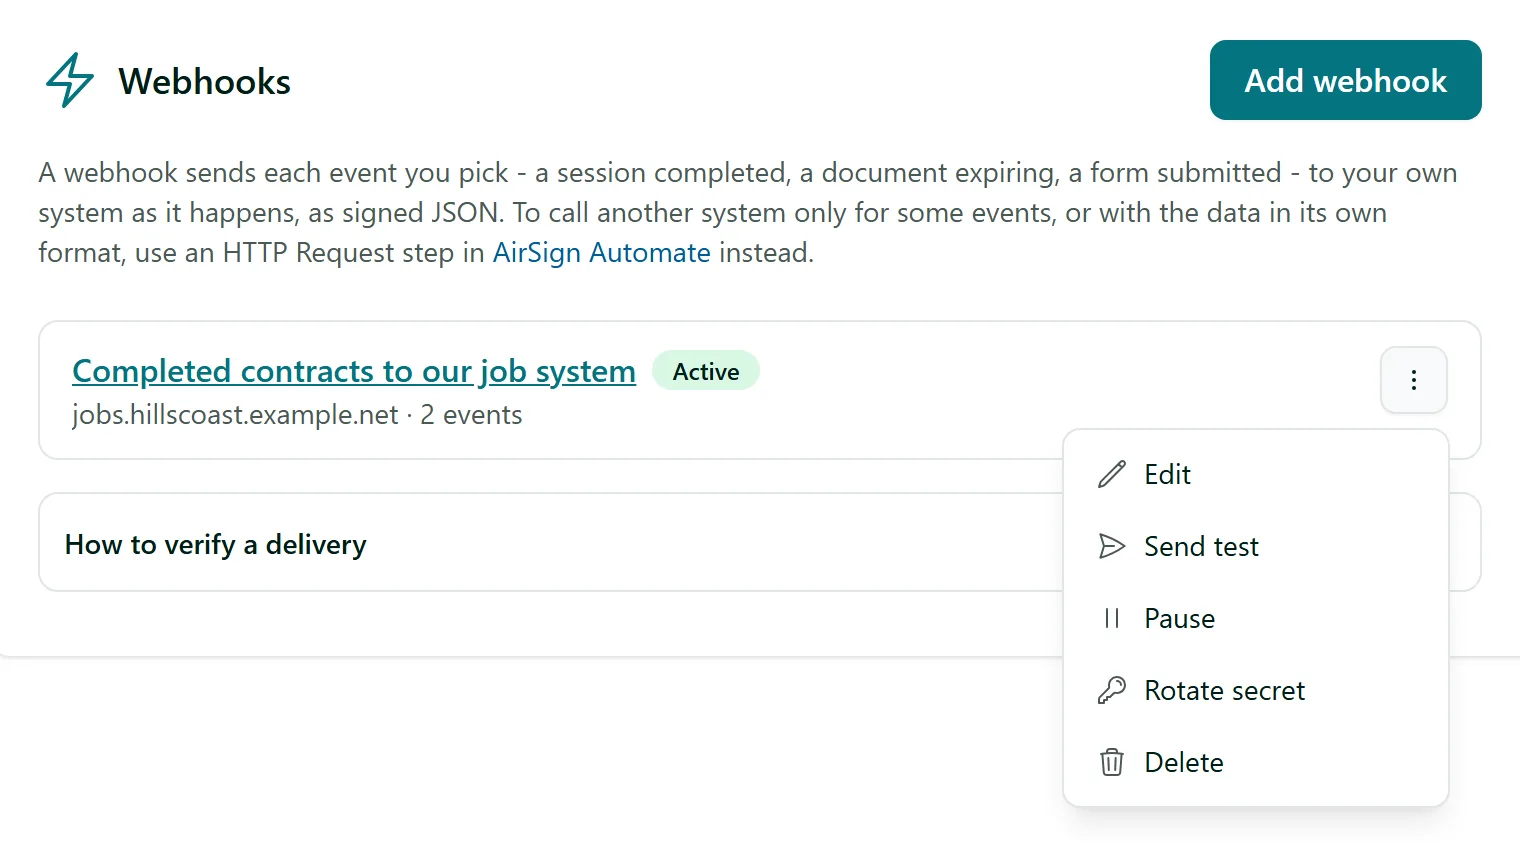
The Webhooks list shows each webhook's status, where it sends and when it last delivered. Its ⋮ menu lets you Edit, Send test, Pause or Resume, Rotate secret (makes a new secret - update your endpoint before the next event) or Delete it.
Tips
- Your endpoint should reply with any 2xx status within 15 seconds. Failed deliveries are retried after 1, 5, 15 and 60 minutes.
- If 10 events in a row fail every attempt, the webhook turns itself off and shows Turned off after failures - fix the endpoint, then choose Resume.
- A webhook marked Unsigned was made before signing was added - choose Rotate secret to turn signing on.
- Webhooks created by Zapier or another integration show Managed by and are best changed in that tool.
- Only want some events, or the data in a different shape? Use an HTTP Request step in AirSign Automate instead.
Need More Help?
Related guides: Connecting Other Tools, Connecting Your AI Assistant. See our FAQ section or email support at [email protected].