Creating and Sending Invoices
AirSign CRM bills your customers for the work you do. Completed jobs from your schedule become invoice lines in a click, or you can write an invoice by hand. Each invoice is a PDF with your branding that you download or email, with a link the customer can open to see what they owe.
Where to find it
Step 1: Set up your invoice details (once)
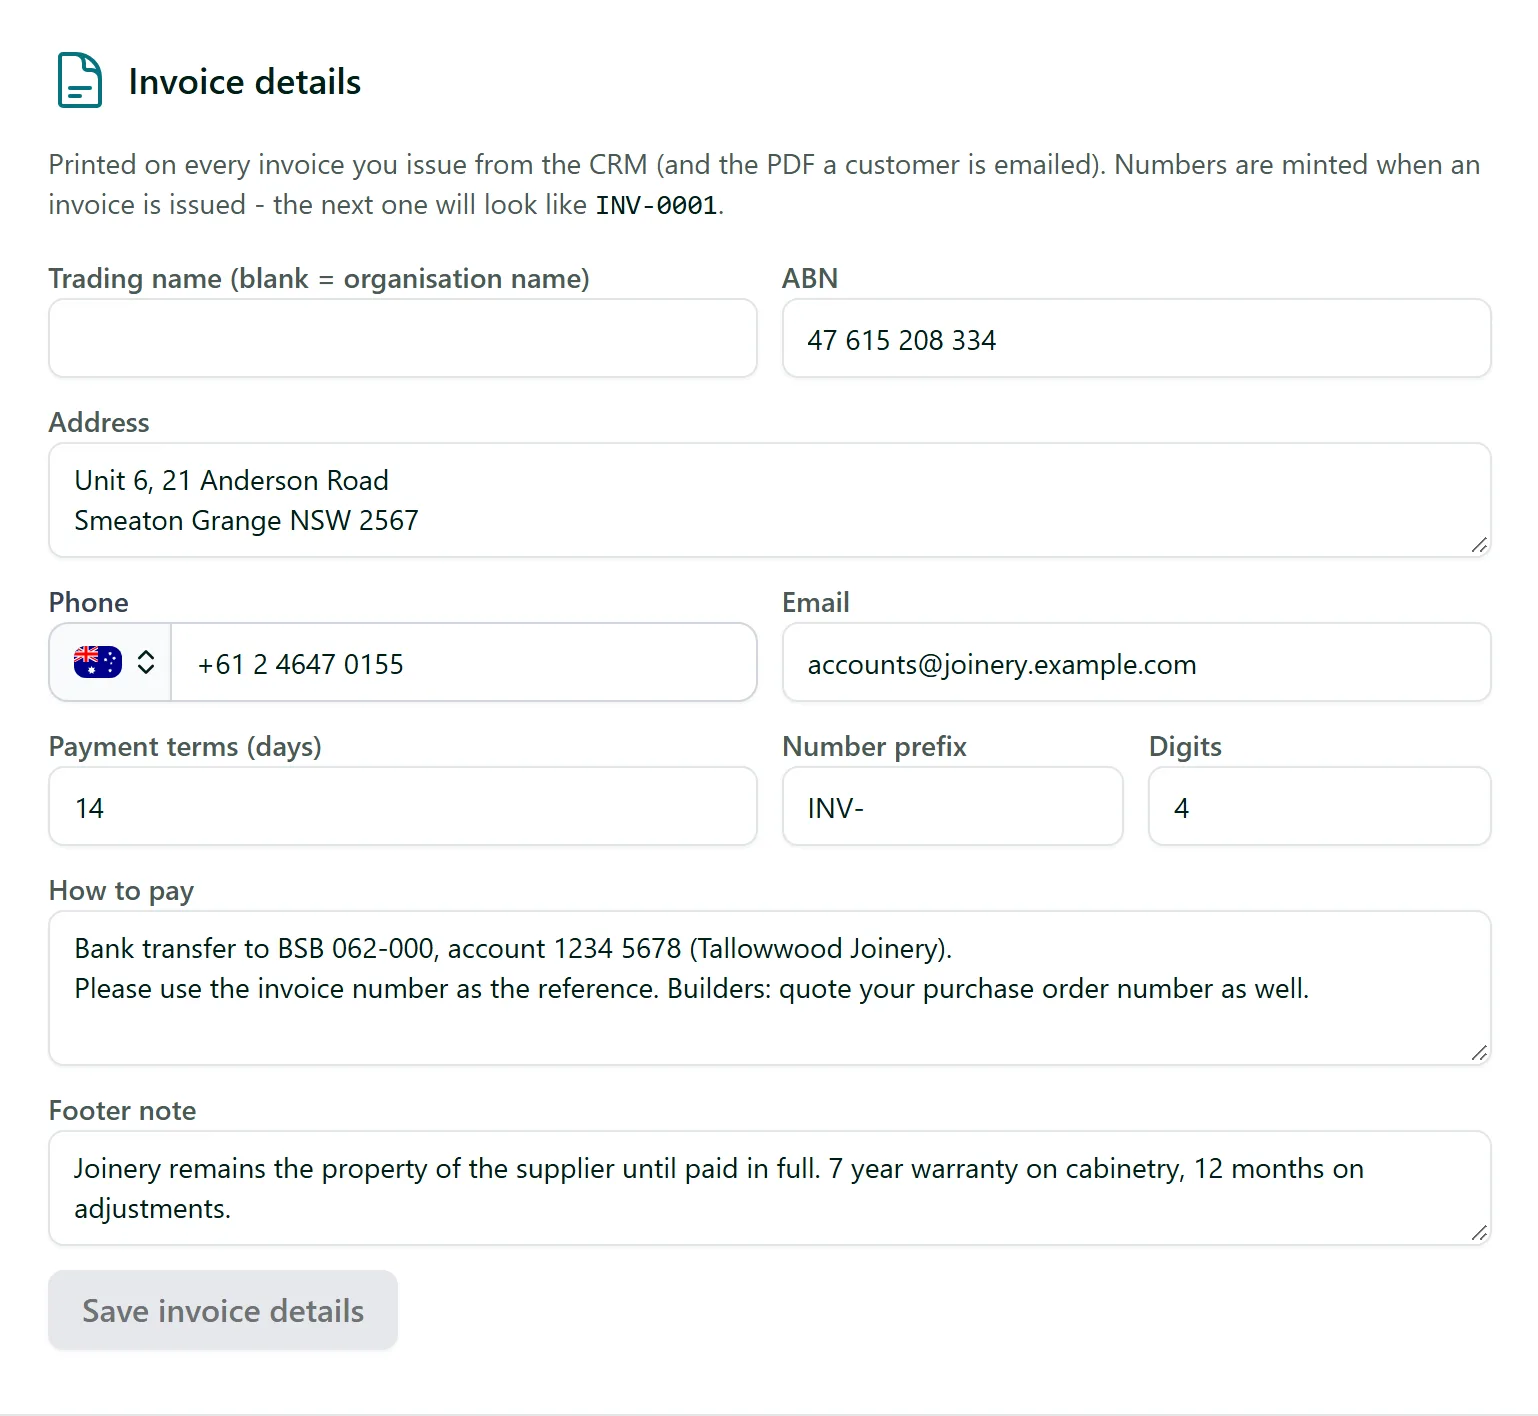
In the CRM, click Settings and choose Finance. Under Invoice details, enter the trading name, ABN, address, phone and email printed on every invoice, your Payment terms (days), the Number prefix and Digits for invoice numbers (INV-0001), your How to pay instructions and an optional Footer note. Click Save invoice details. The same page holds your Tax rates, and your logo comes from your organisation's branding.
Step 2: Invoice completed jobs
Open the customer's Invoicing tab. Uninvoiced jobs lists every job that is completed on the schedule, marked Bill this job and not on an invoice yet, with its lines and total. All of them are ticked - untick any you want to leave for later - then click Invoice N jobs. One draft invoice is made with a line for each job, dated with the day the work was done. A red number on the tab tells you jobs are waiting to be invoiced.
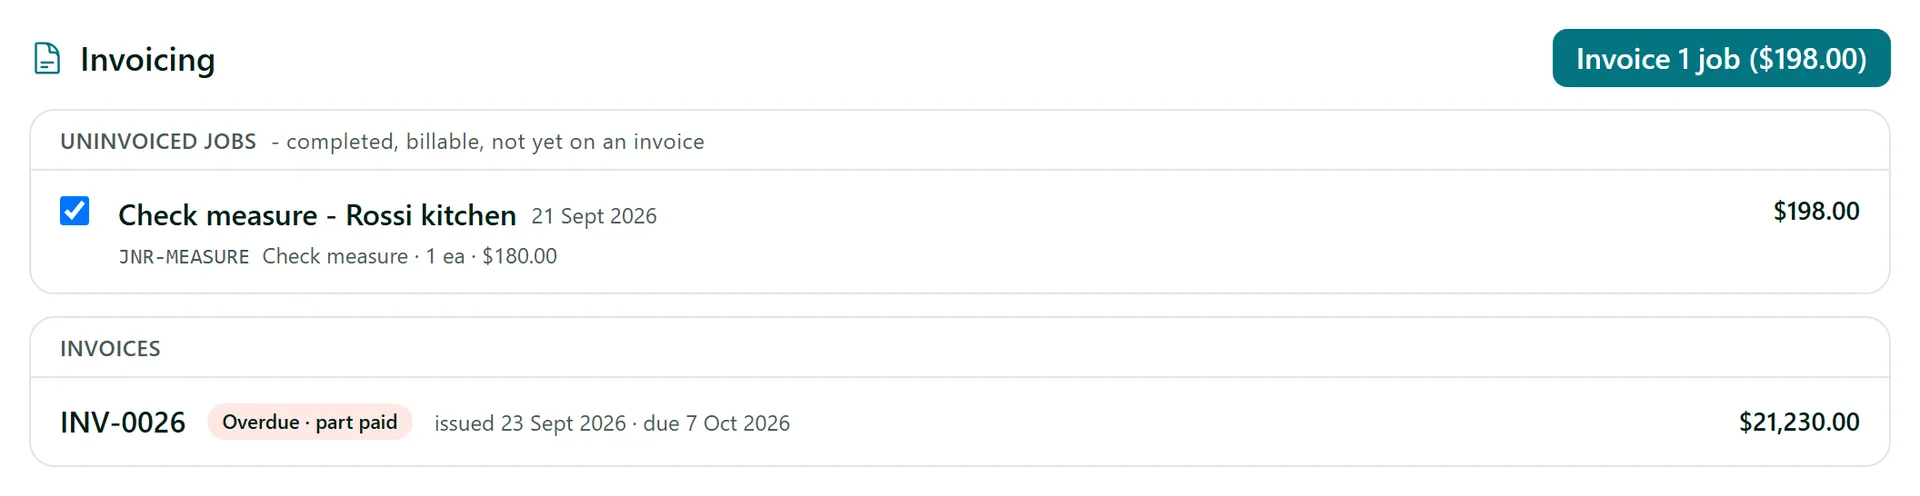
You can also invoice a single job from the schedule: open the completed job and click Invoice this job.
Step 3: Or start an invoice by hand
Choose All invoices, click New invoice and pick the customer under Invoice to. A blank draft opens.
Step 4: Check and edit the draft
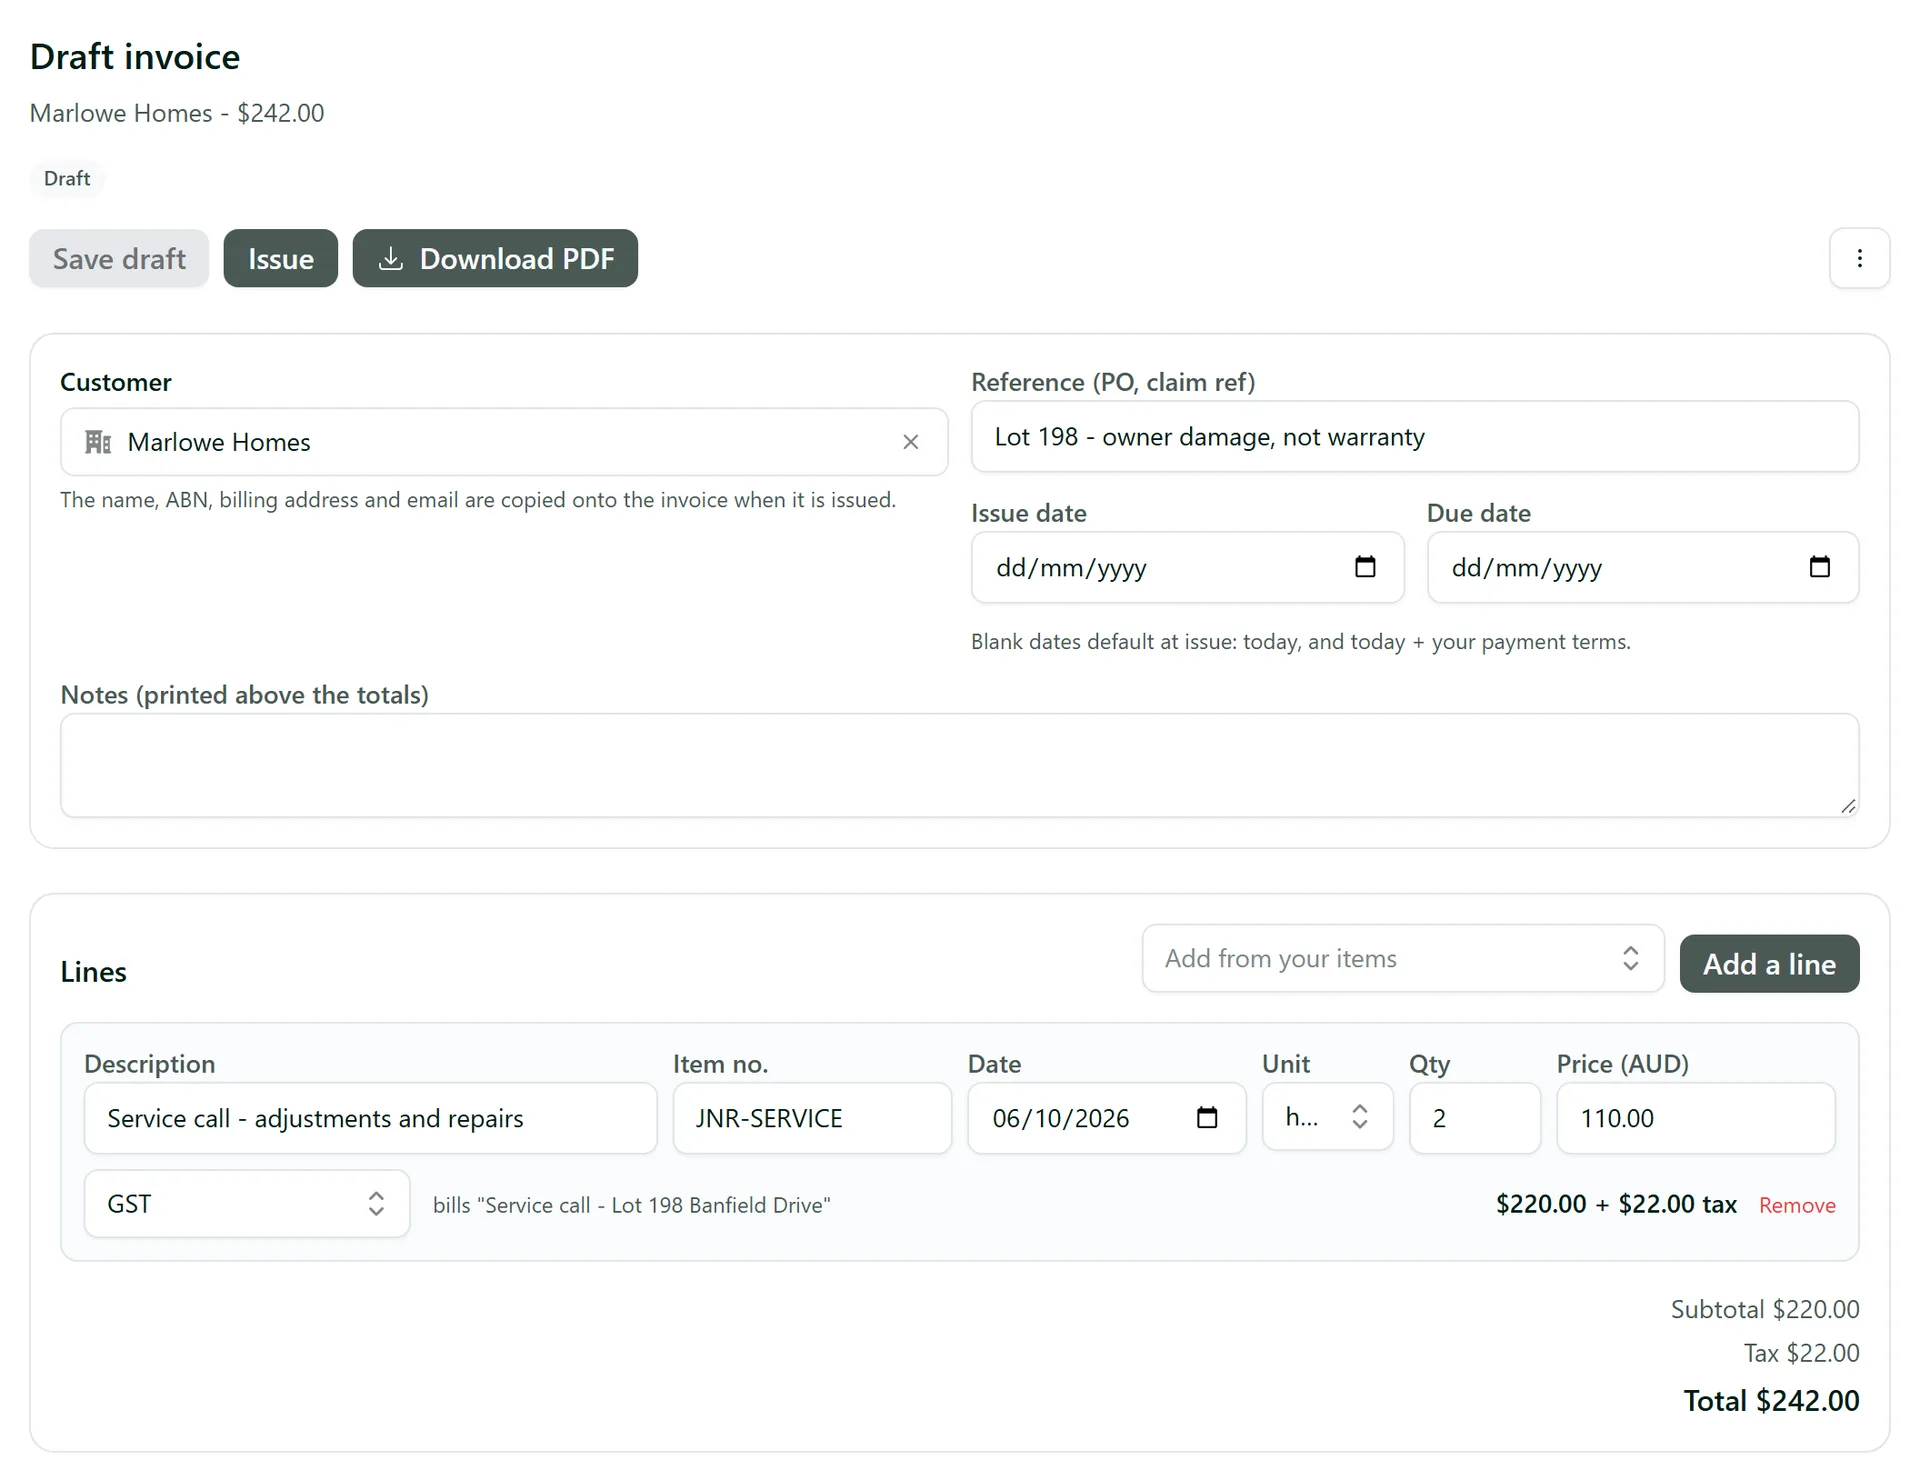
A draft can be changed freely. Add a Reference (PO, claim ref), notes and dates (leave the dates blank and they are set when you issue: today, and today plus your payment terms). Under Lines, use Add from your items to add something from your price list at this customer's price, or Add a line for anything else. Each line has a description, item number, date, unit, quantity, price and tax rate, and the totals update as you type. Click Save draft.
Step 5: Issue and send it
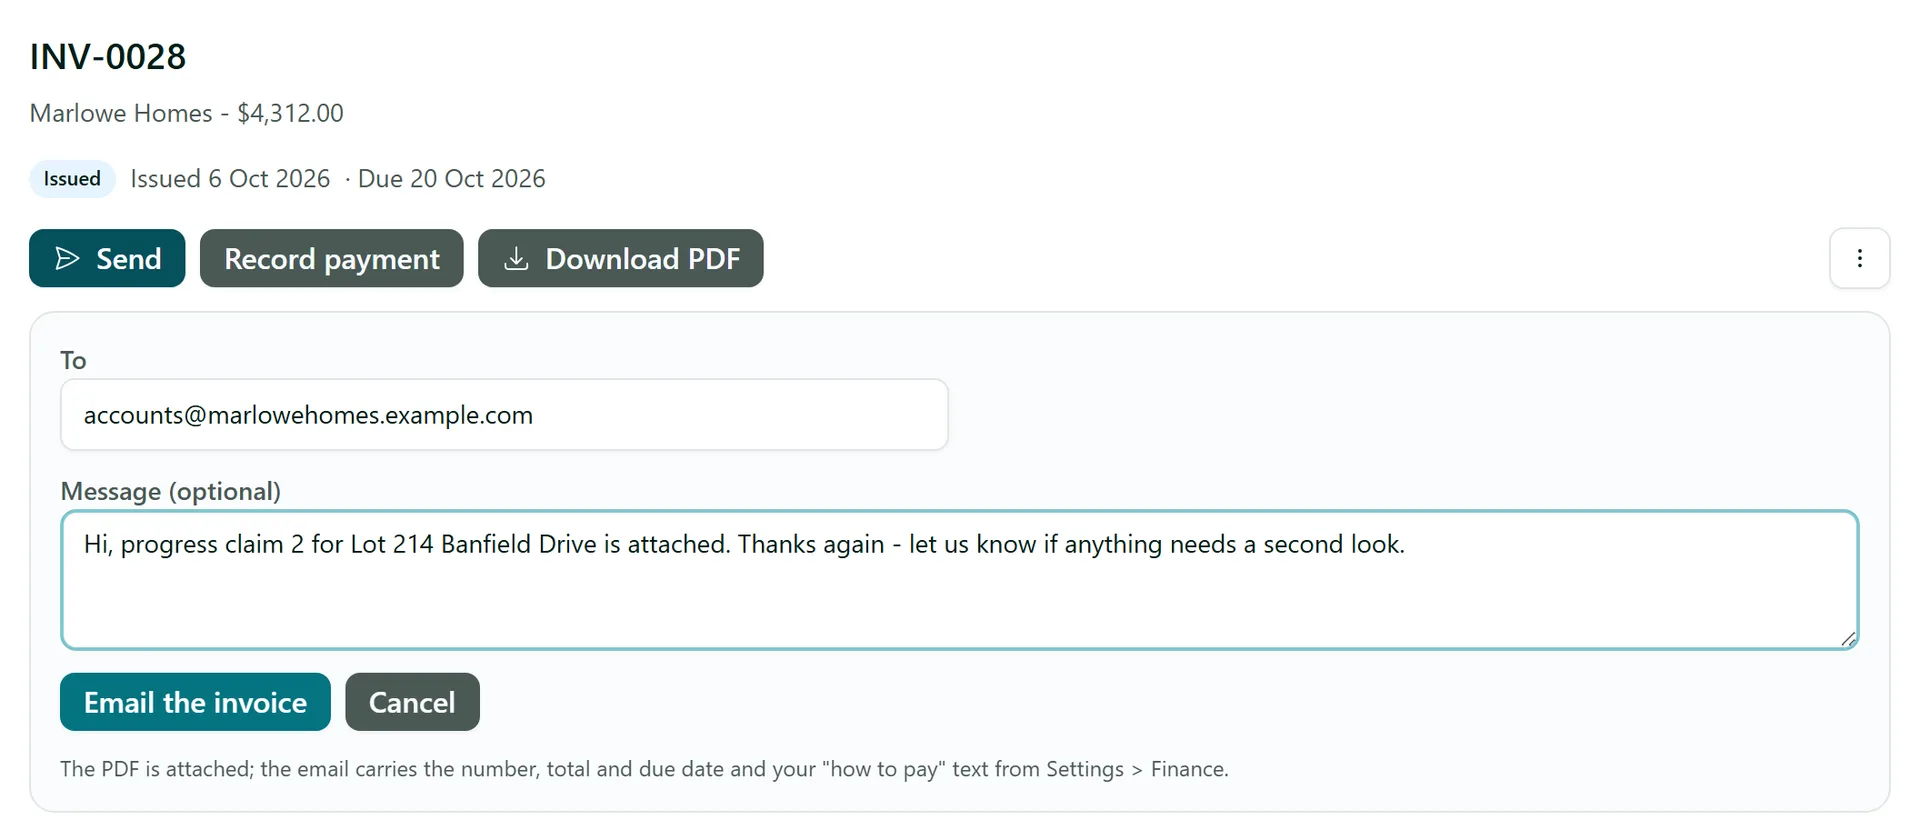
Click Issue. The invoice gets its number and the customer's name, ABN, billing address and email are copied onto it, so it no longer changes. Then click Send, check the To address, add a message if you like and click Email the invoice. The PDF is attached, and the email carries the total, due date and your how to pay text, with a Pay now button if you take card payments (or View invoice if not). Use Download PDF to keep a copy or post it yourself.
To share the customer's pay page another way - a text message, for example - choose Copy pay link from the invoice's menu.
Tips
- Numbers are only used when an invoice is issued, so deleting a draft never leaves a gap.
- An issued invoice can't be edited. If it is wrong, choose Void from its menu - the jobs on it can then be invoiced again.
- "TAX INVOICE" is printed when any line carries tax; otherwise it reads "INVOICE".
- Every step - issued, sent, paid - is noted on the invoice's timeline, and you can add your own notes there.
Need More Help?
Related guides: Recording Payments, Items, Prices and Rate Cards, Customer Budgets. See our FAQ section or email support at [email protected].