Person Records and Documents
Every person in AirSign People has their own page - the one place to answer "is this person allowed to work, and what is on file for them?". This guide walks through the tabs on a person's page and how to send them what they are missing.
Where to find it
Step 1: Read the page header and tabs
The top of the page shows the person's name, their current roles, contact details, start date, location and tags. The menu on the right holds Archive and Delete. Below are the tabs: Details (their own fields and custom fields, edited in place with one Save), Requirements, Relationships, Staff (for people who work for you), Documents, Notes & files and Account. A red number on a tab means something there needs you.
Step 2: Check their requirements checklist
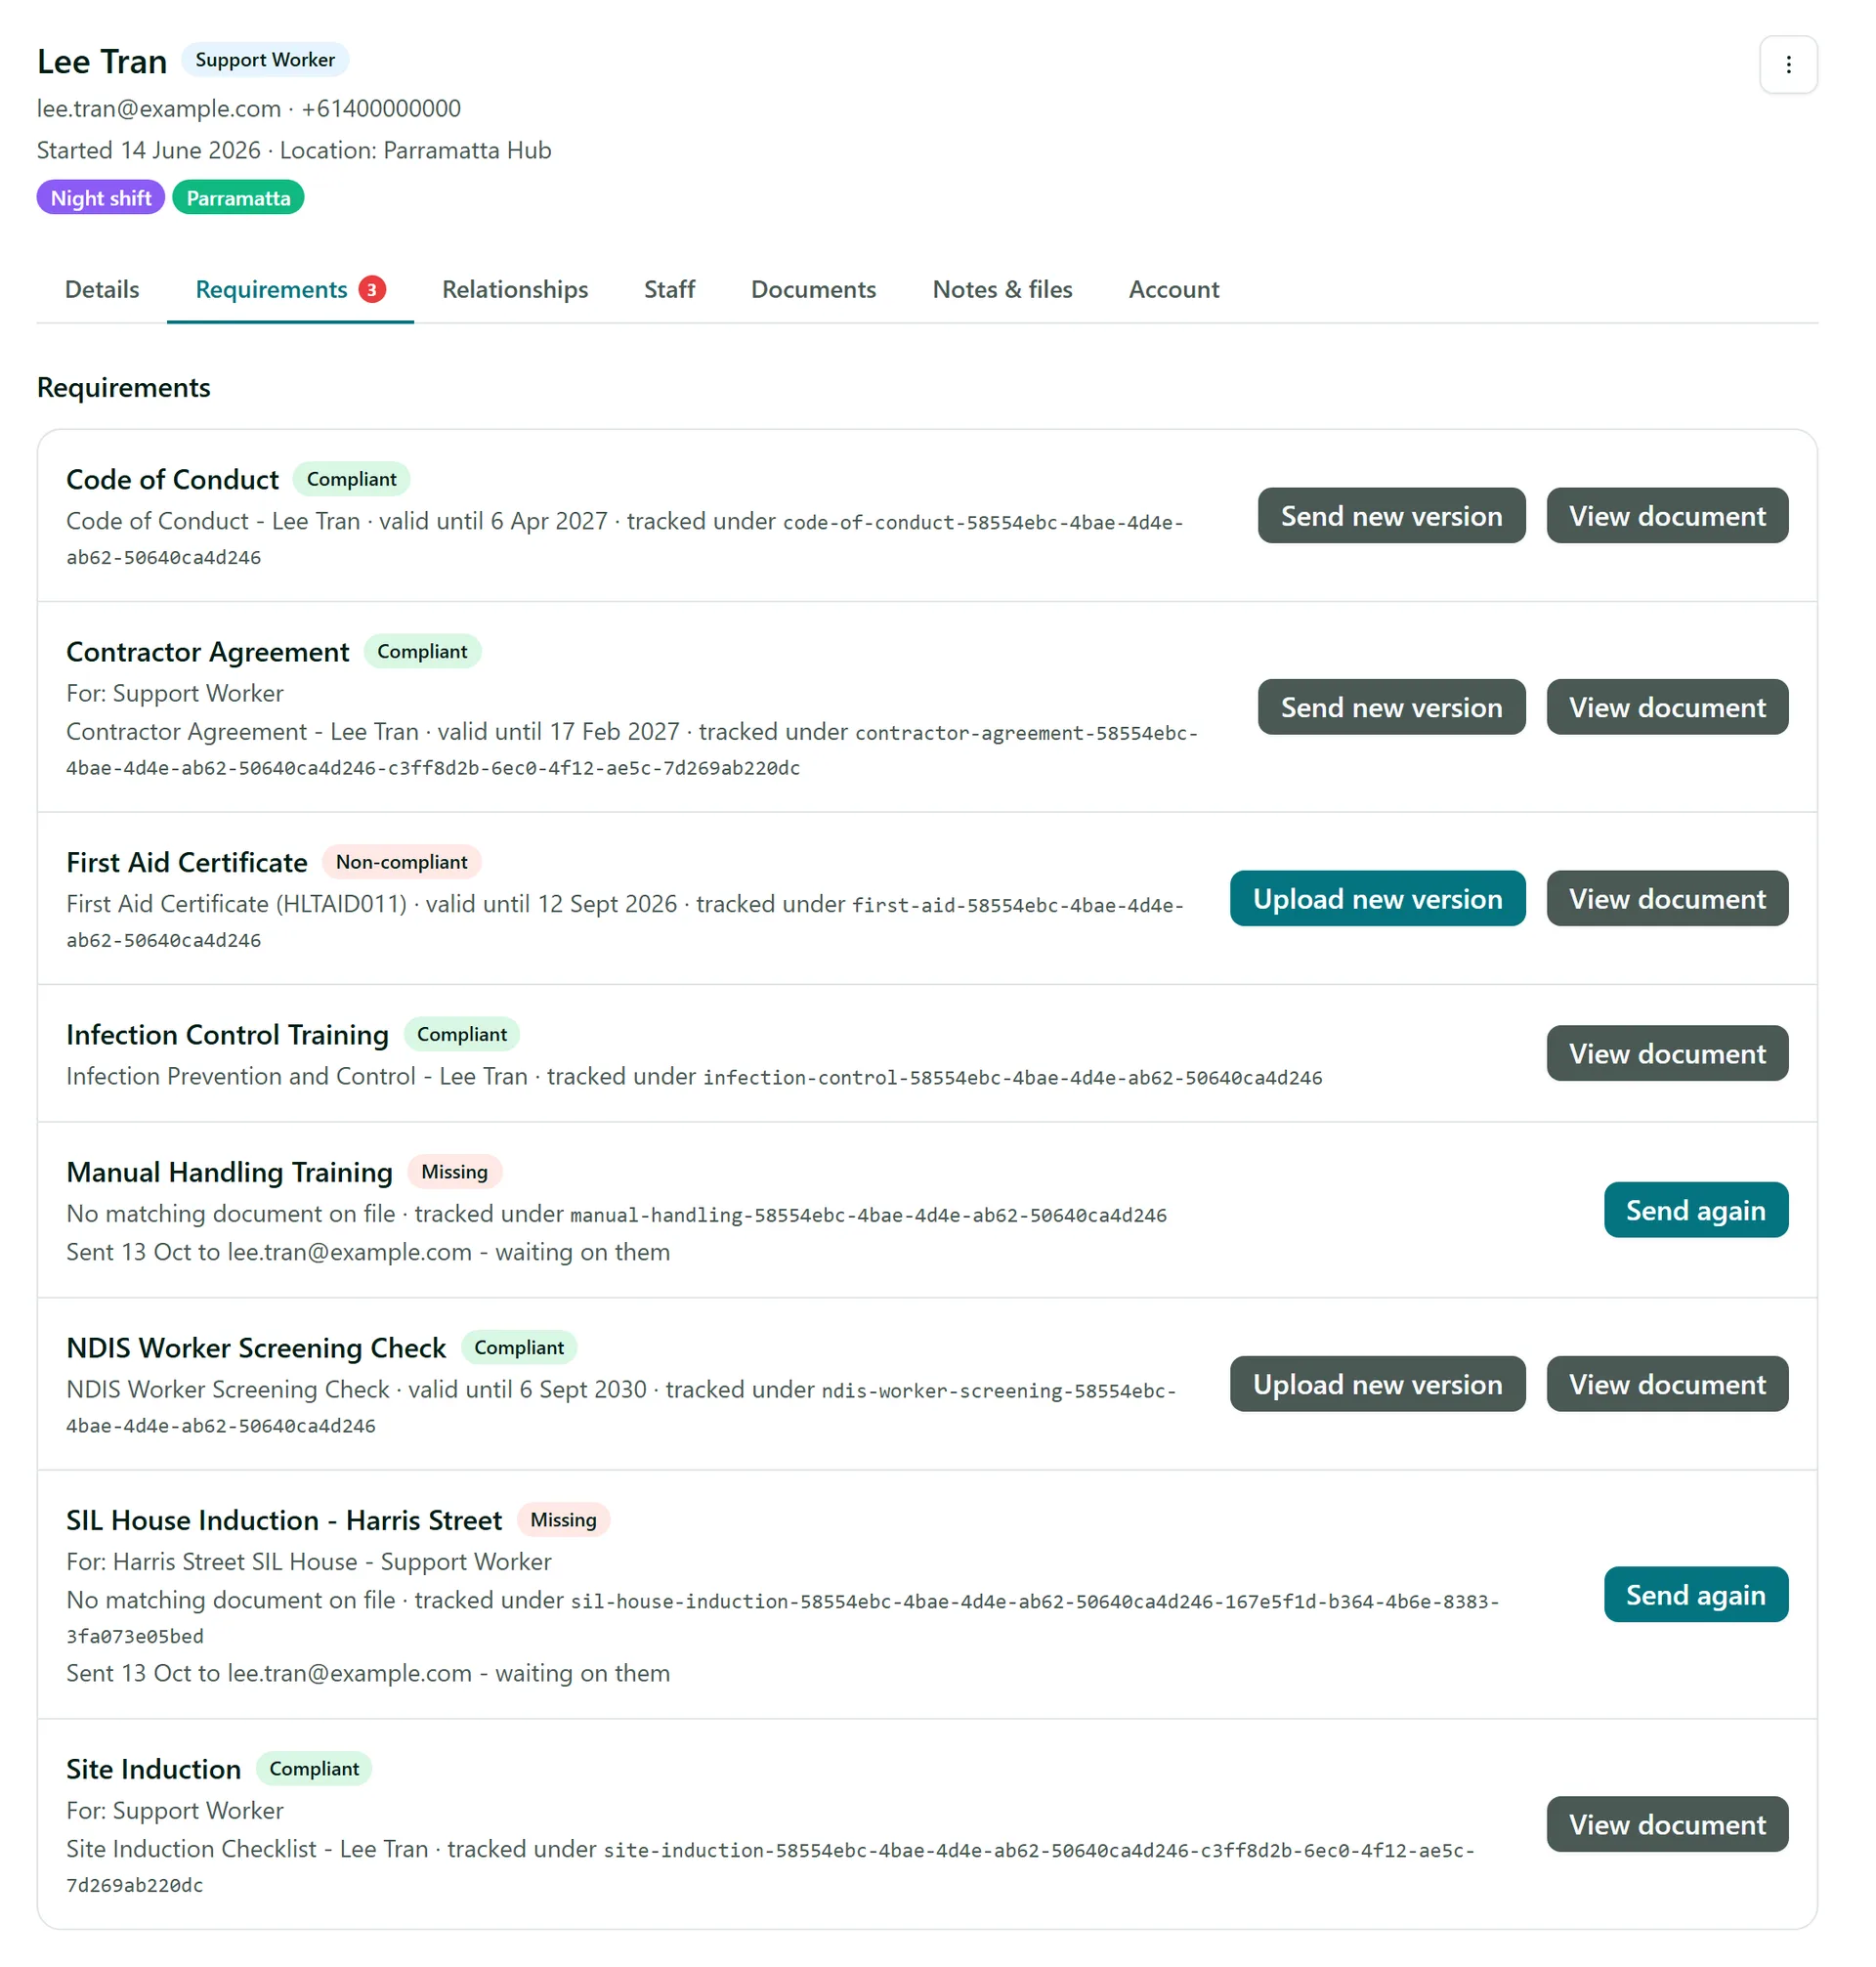
The Requirements tab lists everything this person must hold, worked out from their roles, classes and other relationships. Each row shows a status - Compliant, Expiring soon, In grace period, Awaiting signature, Non-compliant (lapsed) or Missing - with the document on file and its expiry date. For: shows which role or relationship a row comes from.
Step 3: Send what is missing
The button on each row depends on the kind of requirement:
- Send Document - emails the requirement's template for signing, with the person's details filled in. If the template needs more details, AirSign asks for them first.
- Send Training or Send Form - emails a link to the training module or form. Once sent, the row says when and to whom, and the button becomes Send again.
- Upload (or Record) - for outside documents like a licence or certificate, you upload a photo or PDF and its expiry date yourself.
- Send new version - sends an updated version of a document they already signed. The signed version keeps them compliant until the new one is signed.
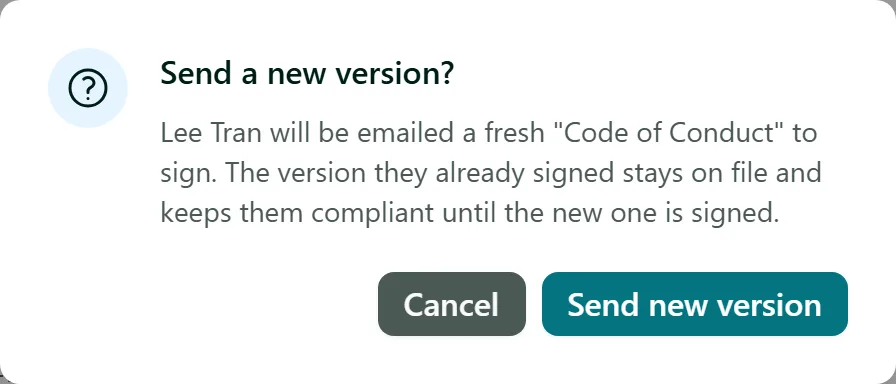
Sent the wrong thing? While a document is Awaiting signature, its row offers Recall. This cancels the signing session and puts the requirement back to missing so you can send it again. View document opens the document's record in AirSign Compliance.
Step 4: See all their documents
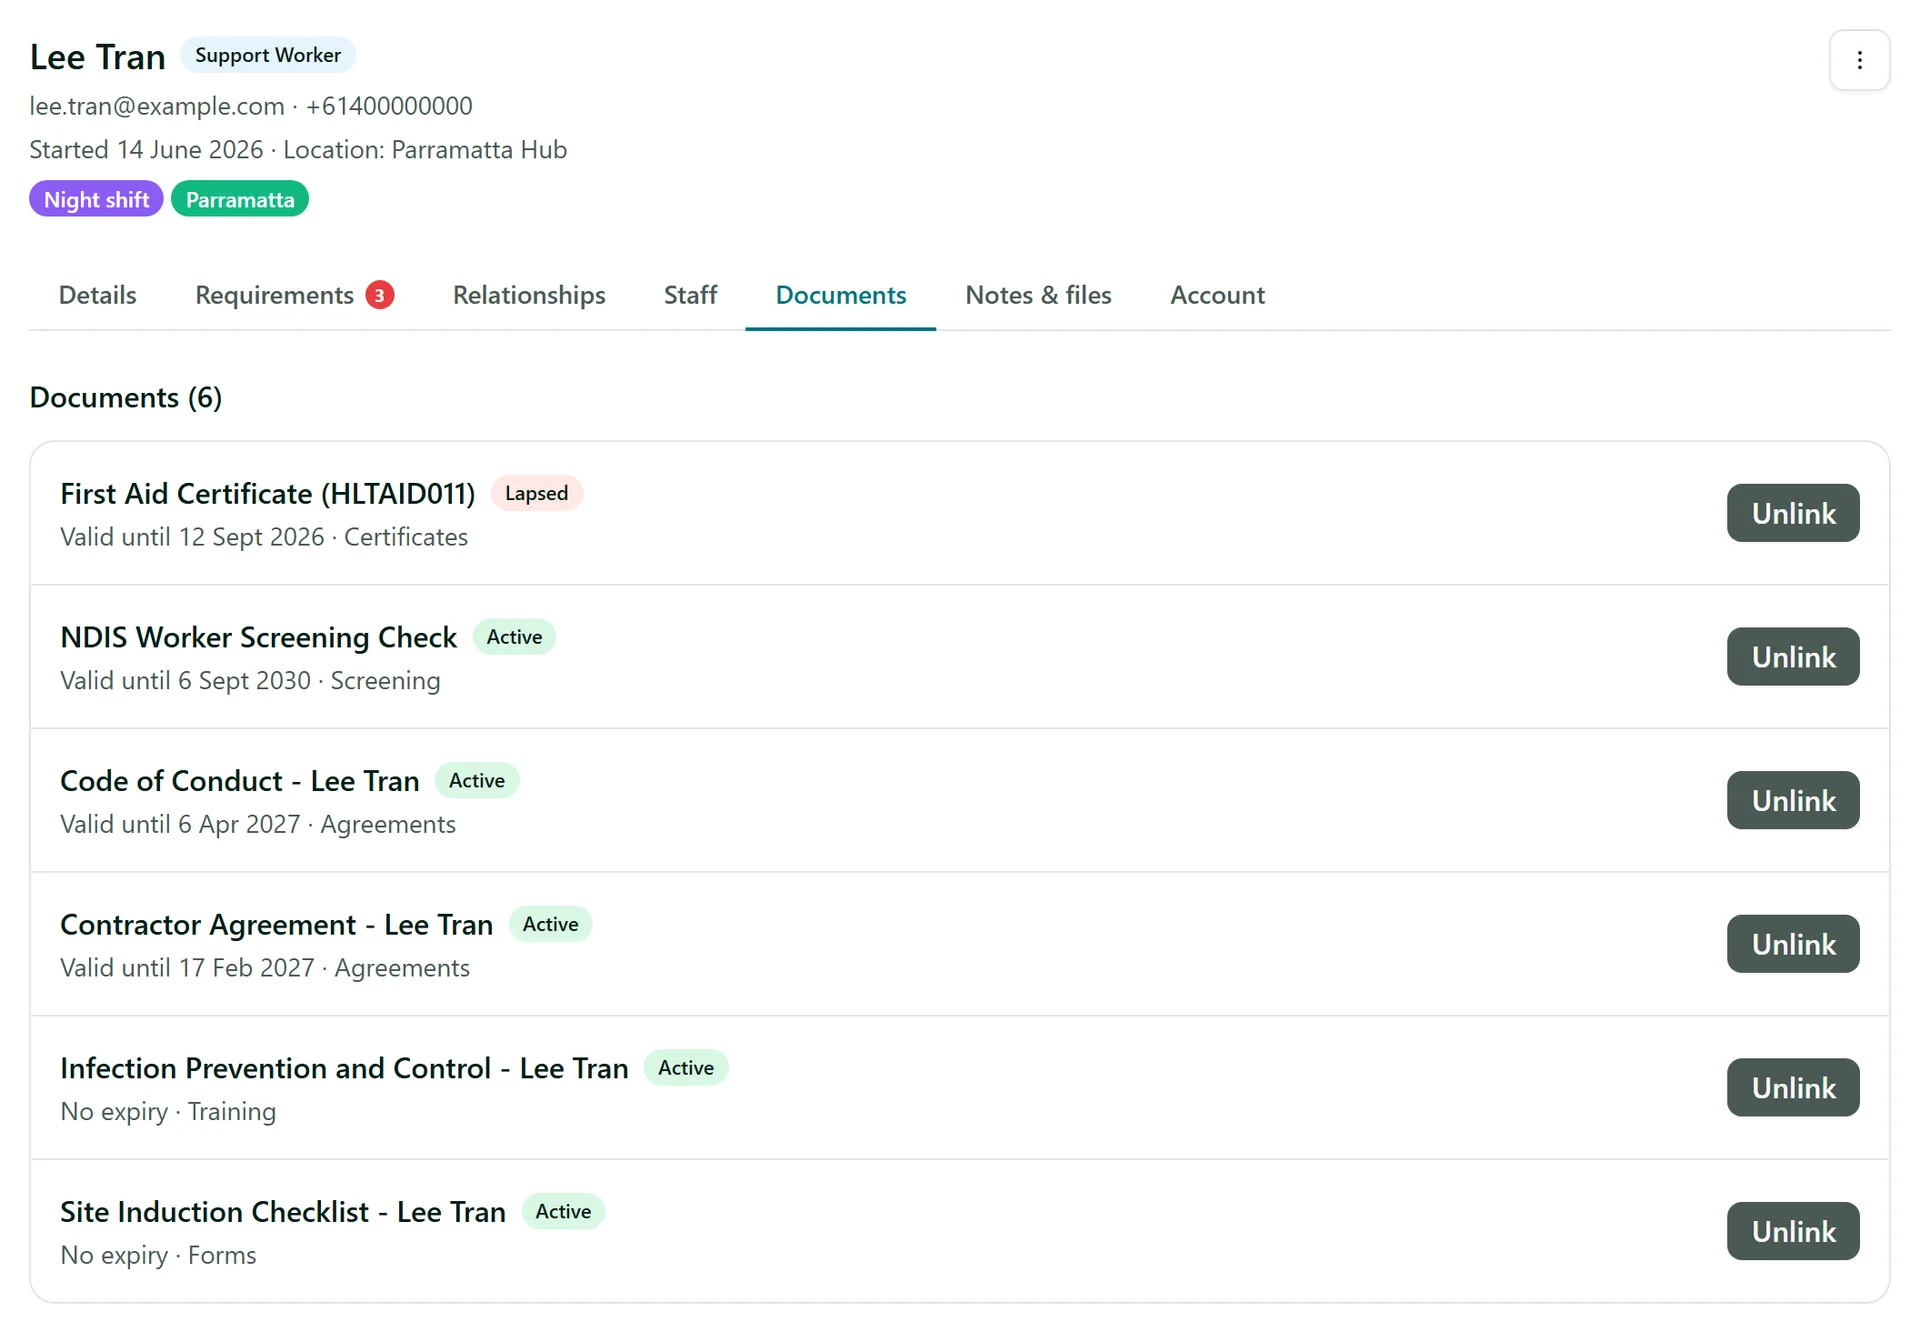
The Documents tab lists every document linked to the person, with its status and expiry. Documents link automatically when the signer's email matches the person. If AirSign finds unlinked documents with their email, they appear under Suggested links - select Link to attach one, or Unlink to remove a document that does not belong.
Step 5: Keep notes and files
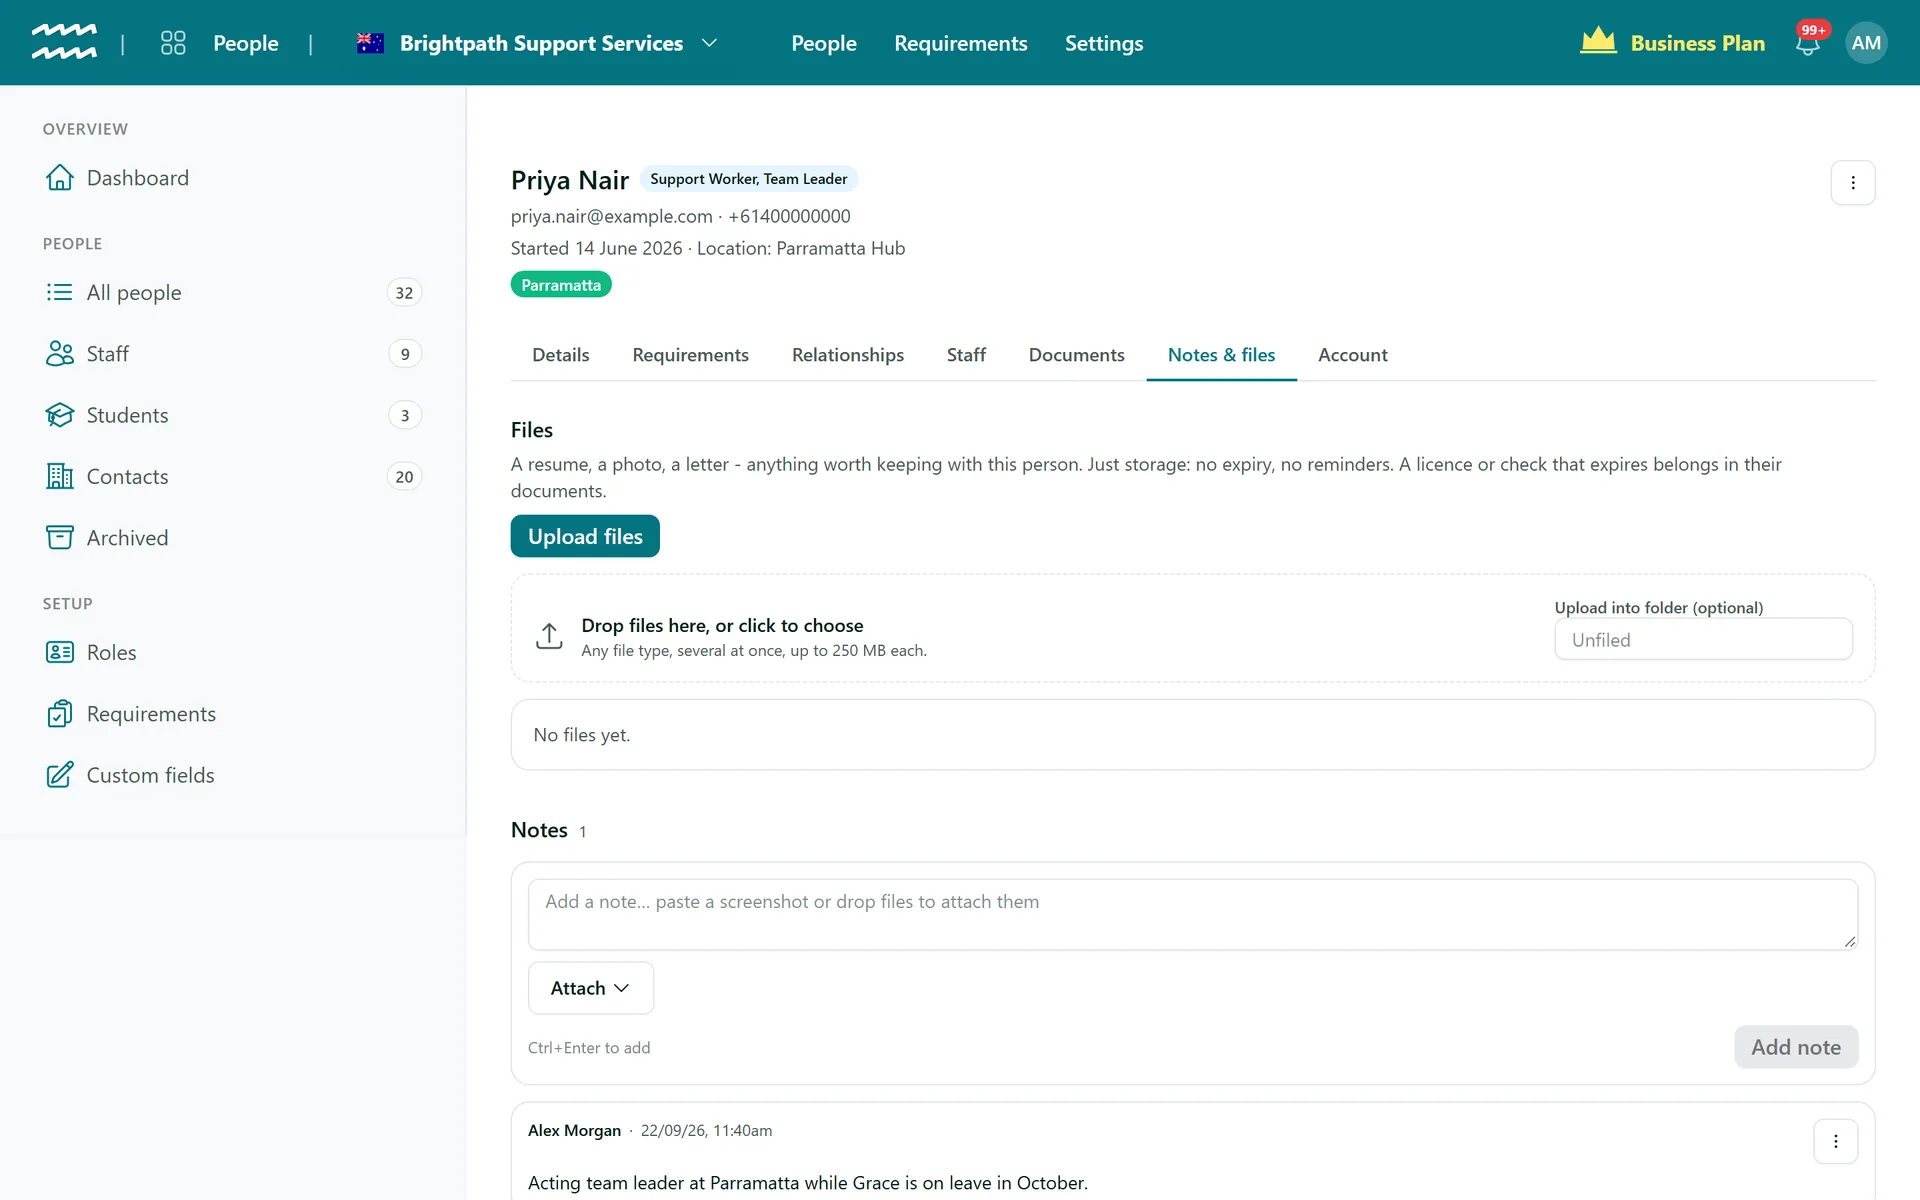
Notes & files is for everything else. Use Upload files for a resume, a photo or a letter - plain storage with no expiry or reminders - and add dated notes to the person's timeline. A licence or check that expires belongs in their requirements instead, so AirSign can track it.
Tips
- The People list's Compliance column gives you the same answer for everyone at once - "2 issues" or "Compliant (8/8)".
- A person with no email can't be sent documents automatically - add one on the Details tab.
- Training and form invites are sent automatically when a new person's roles require them, so you often only need to check the checklist.
Need More Help?
Related guides: Setting Up Requirements, Tracking Compliance, Reviewing Uploaded Evidence. See our FAQ section or email support at [email protected].