Wiki Spaces and Pages
AirSign Wiki is your organisation's knowledge base - policies, procedures and how-tos, kept in one place your team can search. Pages live in spaces (for example "Policies & Procedures" or "Operations"), and inside a space they form a tree of pages and sub-pages. This guide shows you how to create a space, write pages, mention people and add diagrams.
Where to find it
Step 1: Find your way around the Wiki home
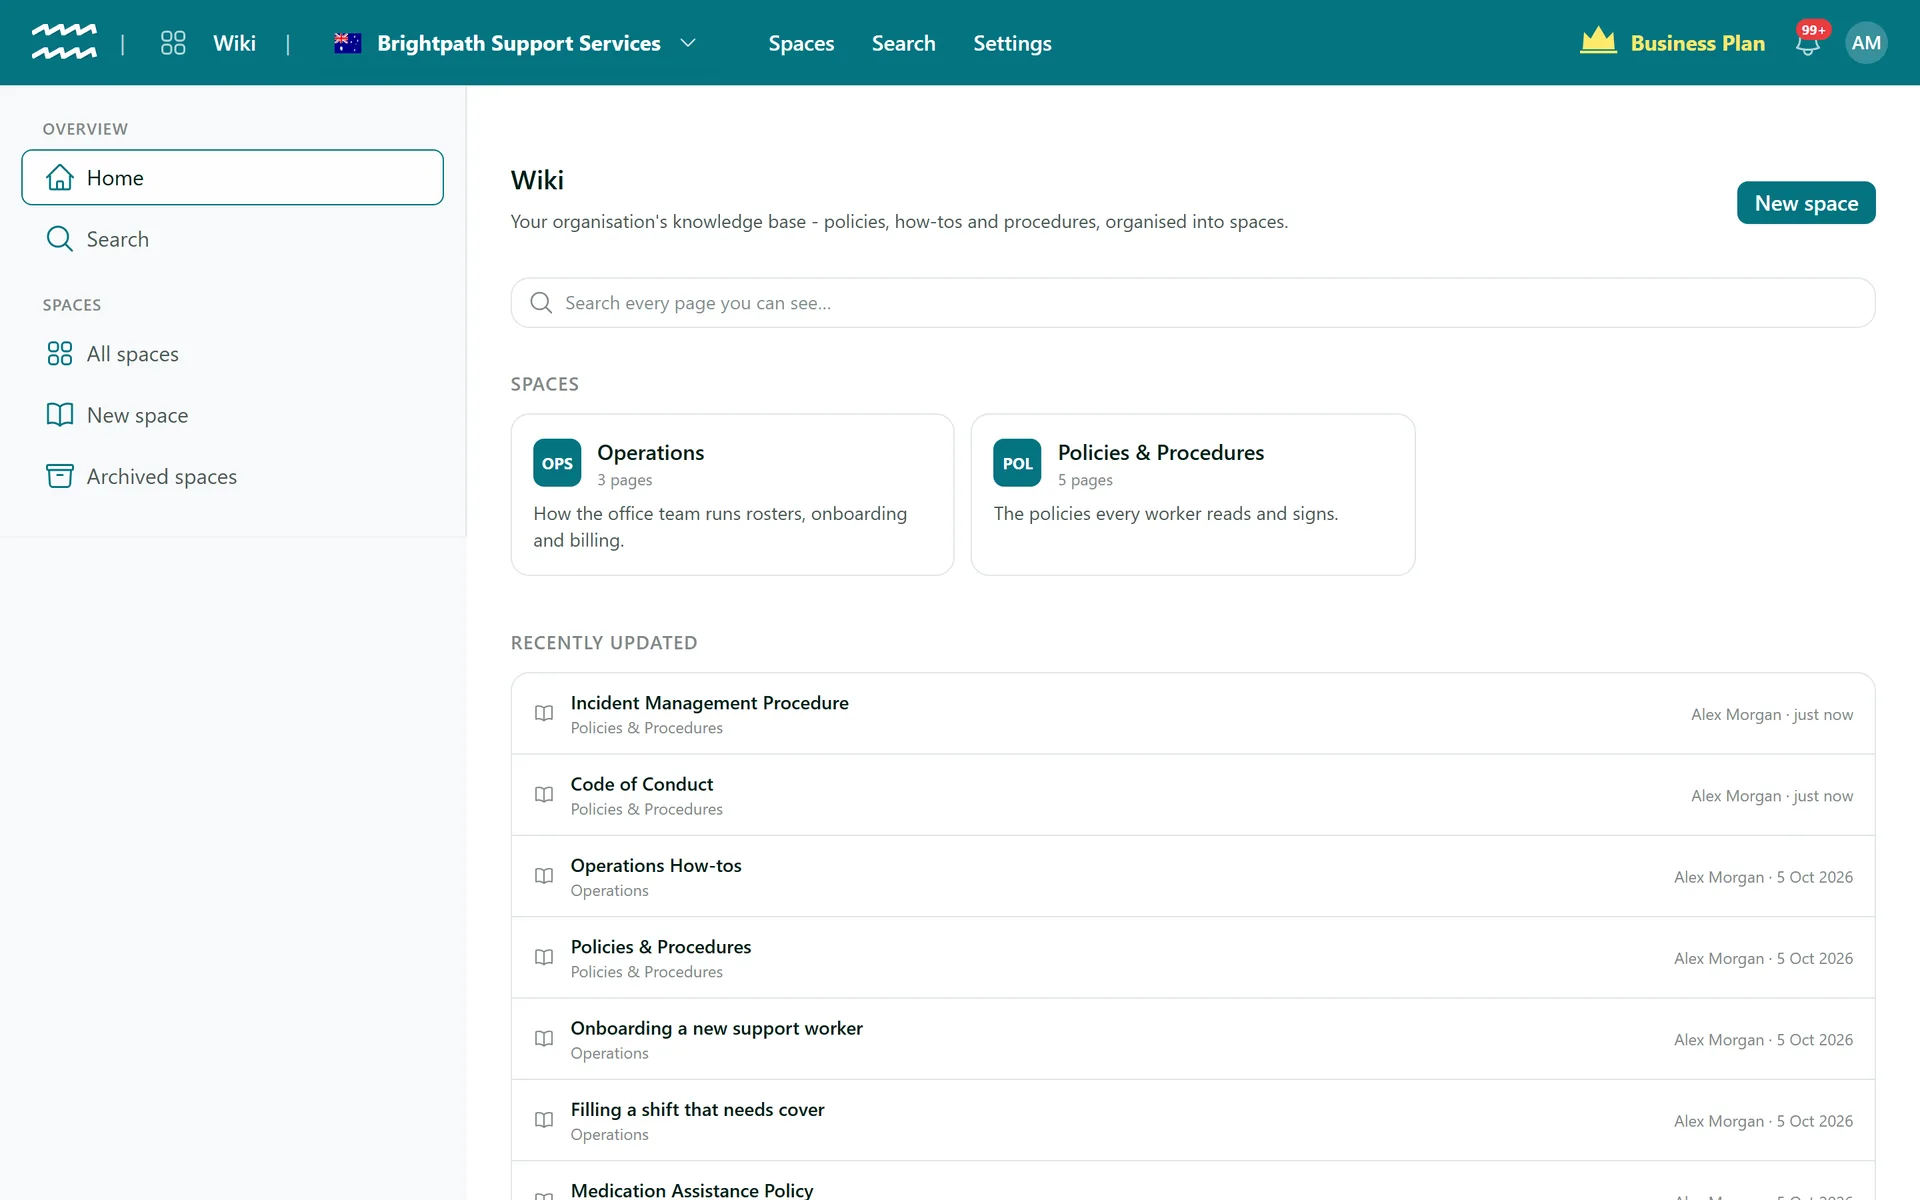
The Wiki home shows a search box, a card for every space you can see (with its page count) and the pages that were Recently updated, with who changed them and when. Search looks through the titles and text of every page you have access to.
Step 2: Create a space
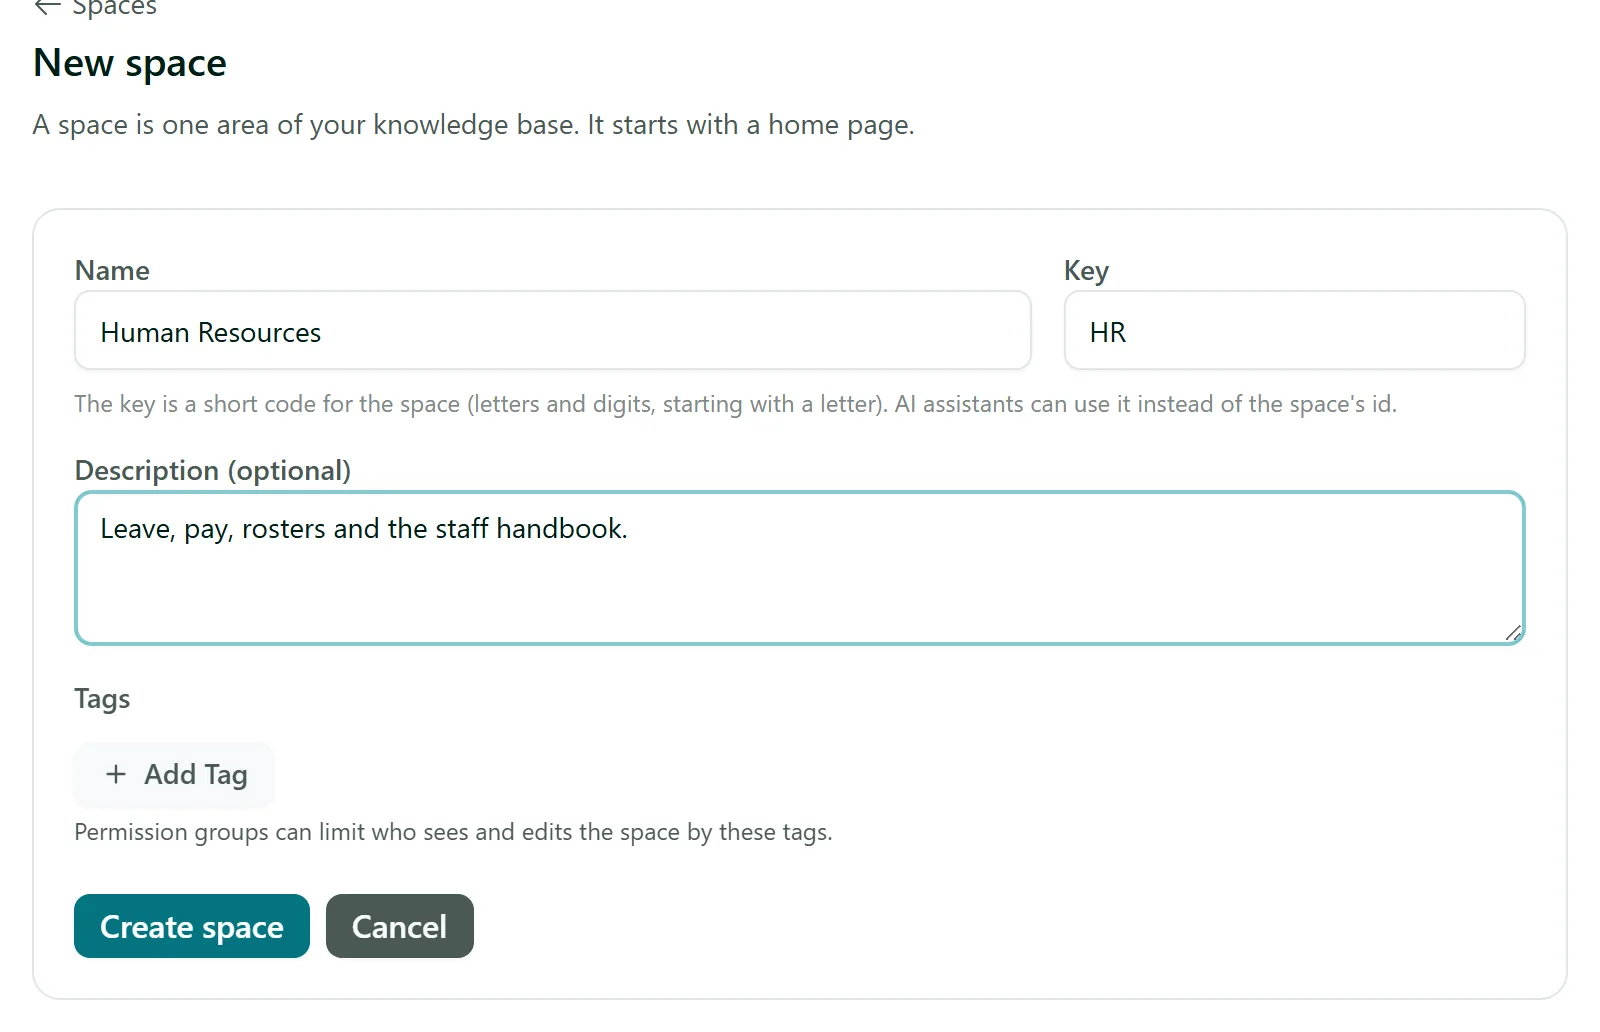
Click New space. Give it a Name - AirSign suggests a short Key from it (for example HR for Human Resources), which you can change. Add an optional Description and, if you use permission groups, Tags to limit who can see and edit the space. Click Create space. Every new space starts with a home page titled after it.
Step 3: Add pages and organise the page tree
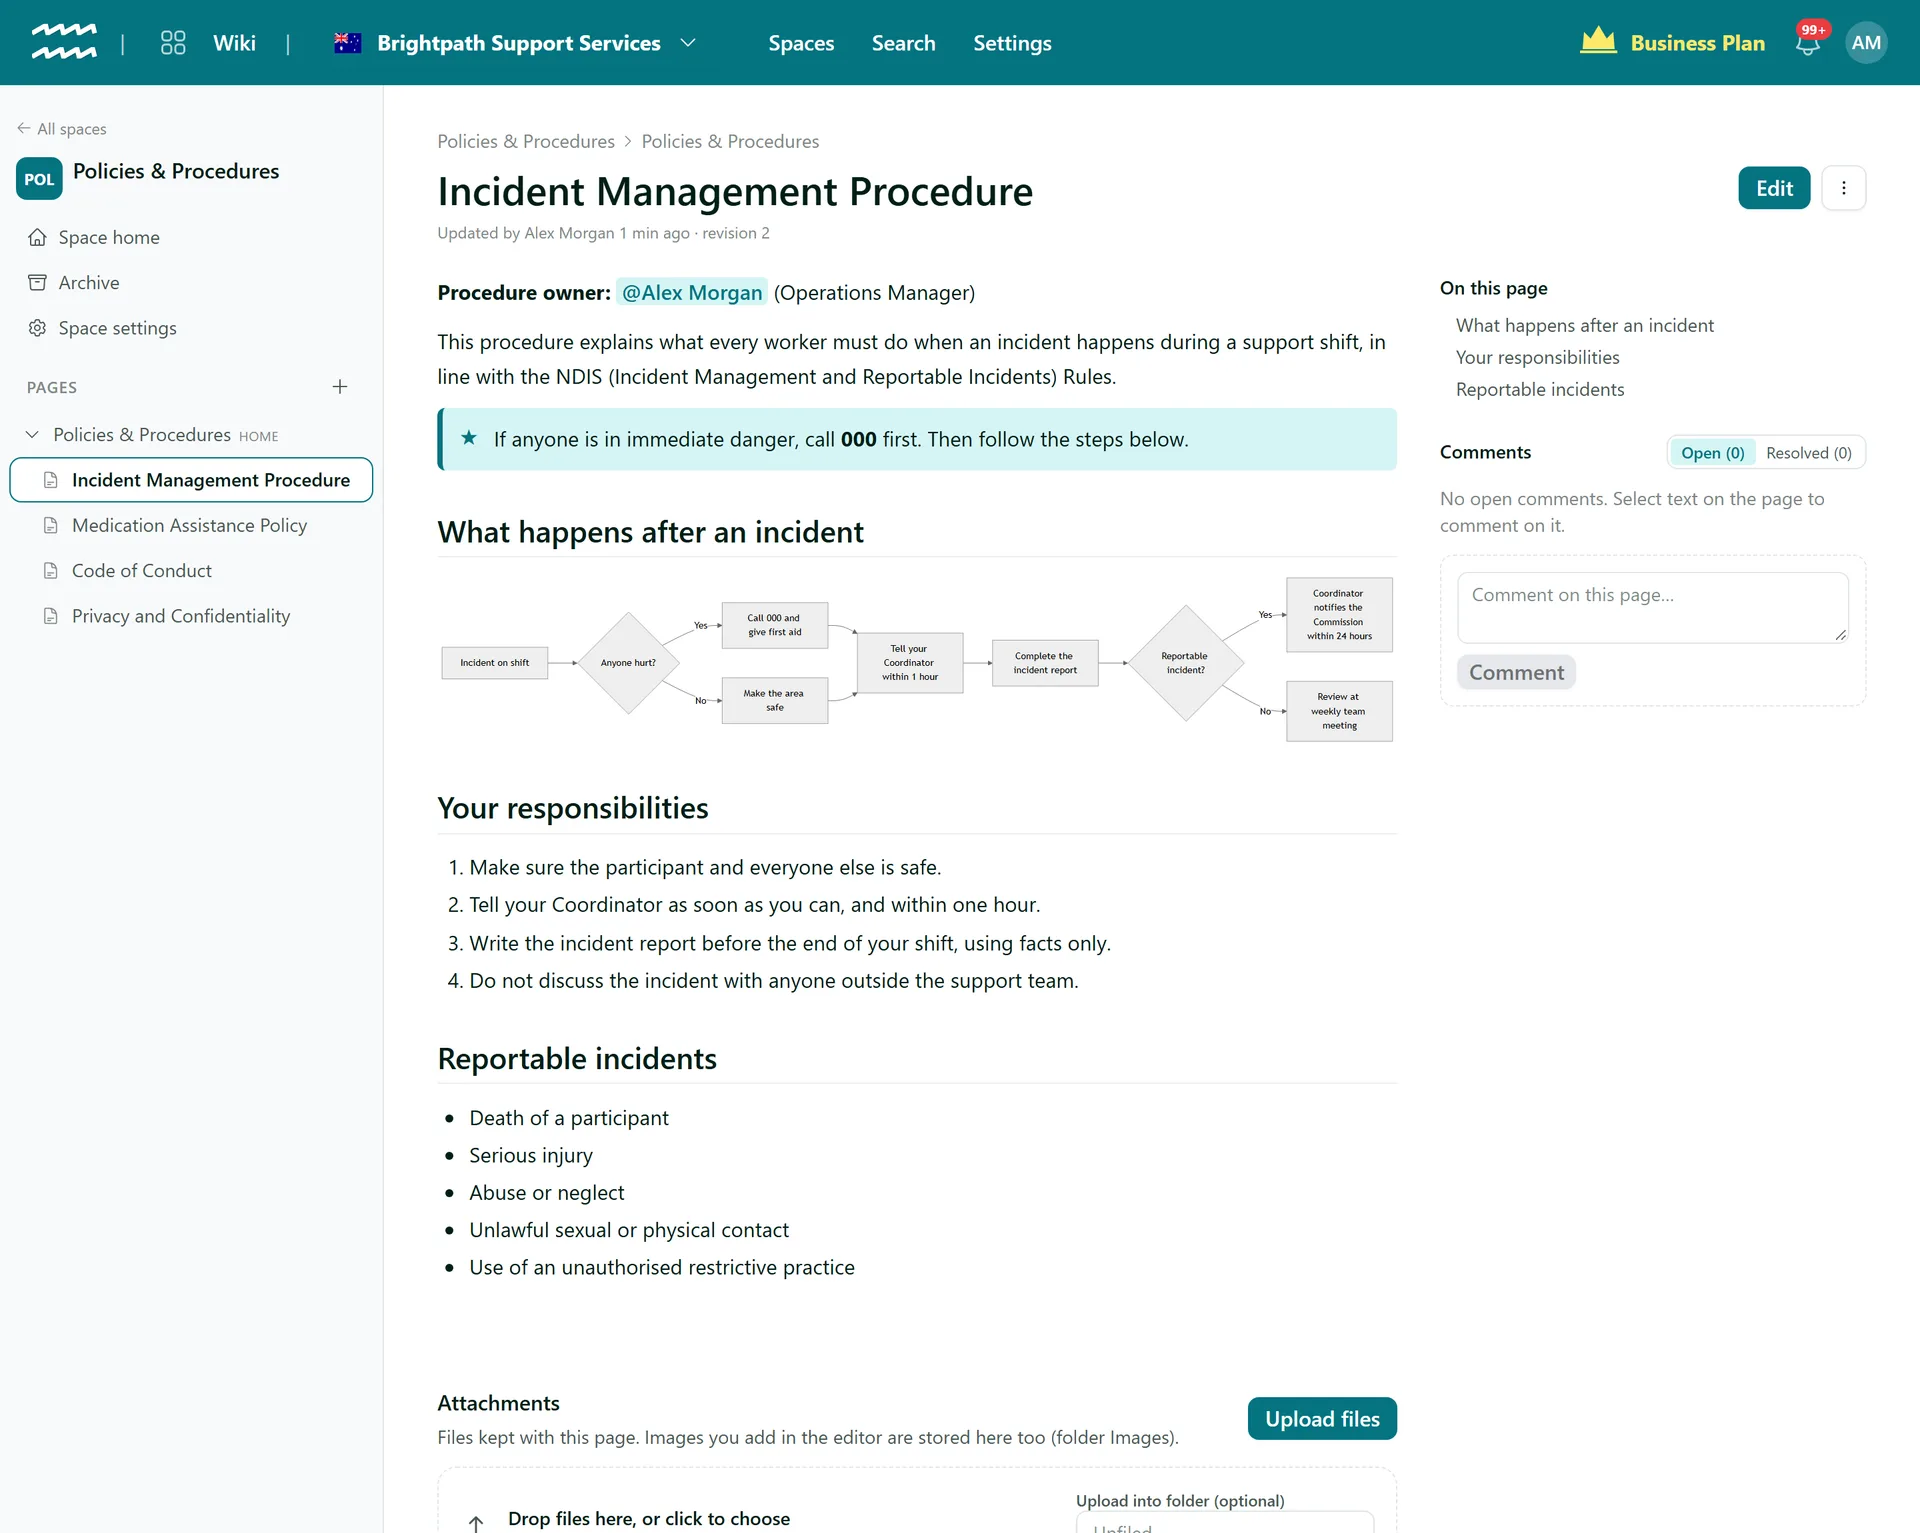
Inside a space, the sidebar shows Space home, the space Archive, Space settings and the Pages tree. To add a page, click the + next to Pages, or open a page and choose Add sub-page from its ... menu. You can also start a new page with Import Markdown to bring in an existing .md file.
To reorganise, drag a page in the tree: drop it on the top or bottom edge of another page to place it before or after, or on the middle to make it a sub-page.
Step 4: Write and format a page
Click Edit on any page. The toolbar covers text styles (Normal text and Headings 1 to 3), bold, italic, links, bulleted, numbered and task lists, quotes, code blocks, callouts (Note, Tip, Important, Warning, Caution), tables and images. When you save, add an optional note in What did you change? - it appears in the page history. Click Save (or press Ctrl+S).
If someone else saved the page while you were editing, AirSign tells you rather than overwriting their work. You can keep editing, or choose Overwrite with mine - their version stays in the history either way.
Step 5: Add a diagram
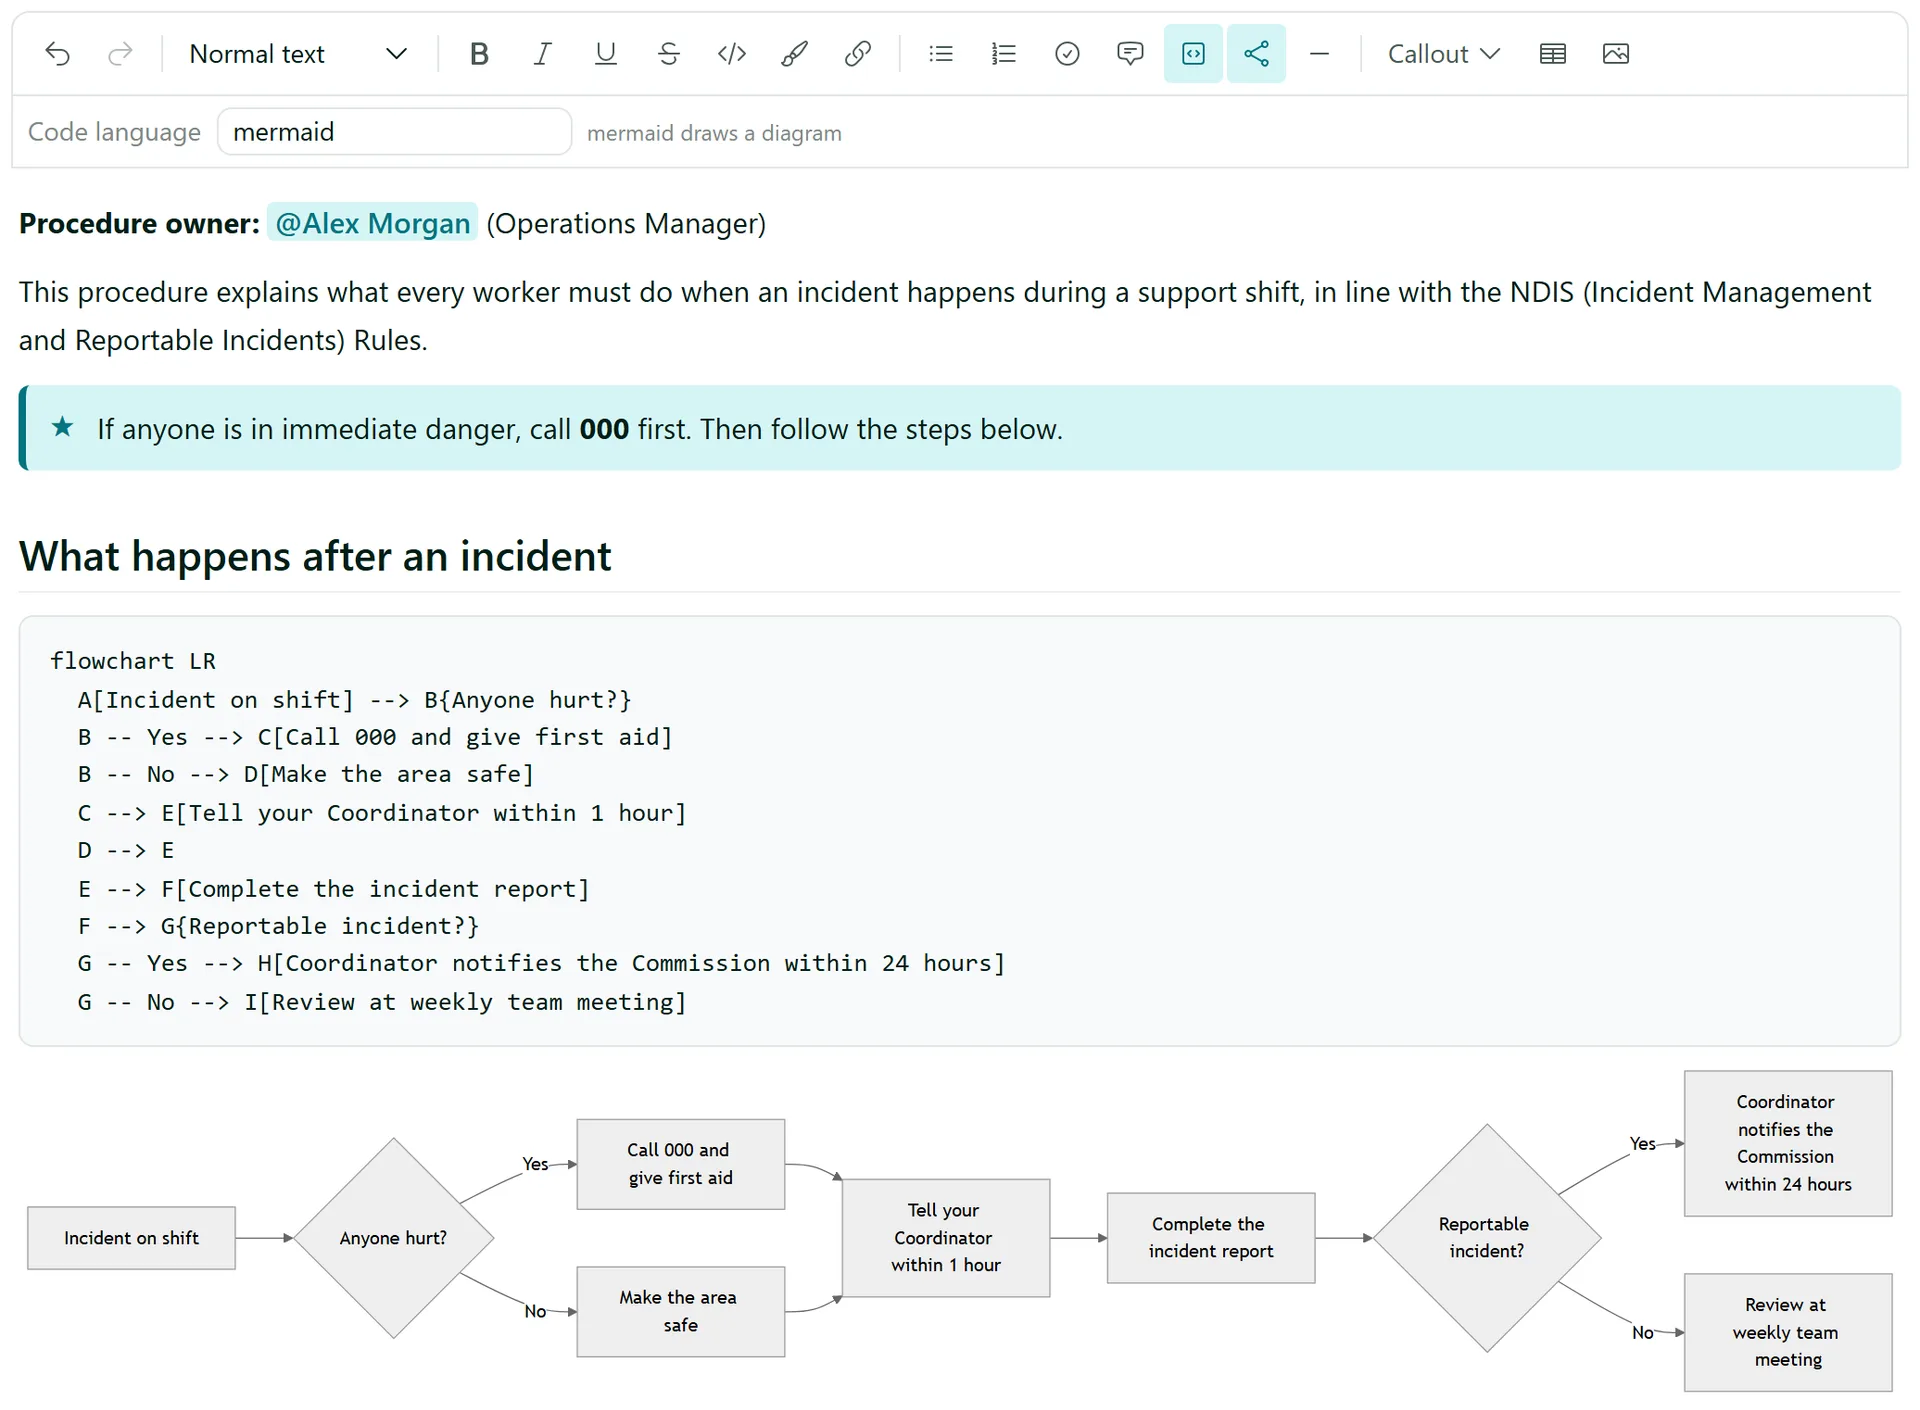
Click the Diagram (Mermaid) button in the toolbar to insert a sample flowchart, then edit its text. While you edit, a live preview of the diagram shows under the code; when people read the page, they see only the diagram. Diagrams use the standard Mermaid syntax, so flowcharts, sequence diagrams and timelines all work.
Step 6: Mention people and records
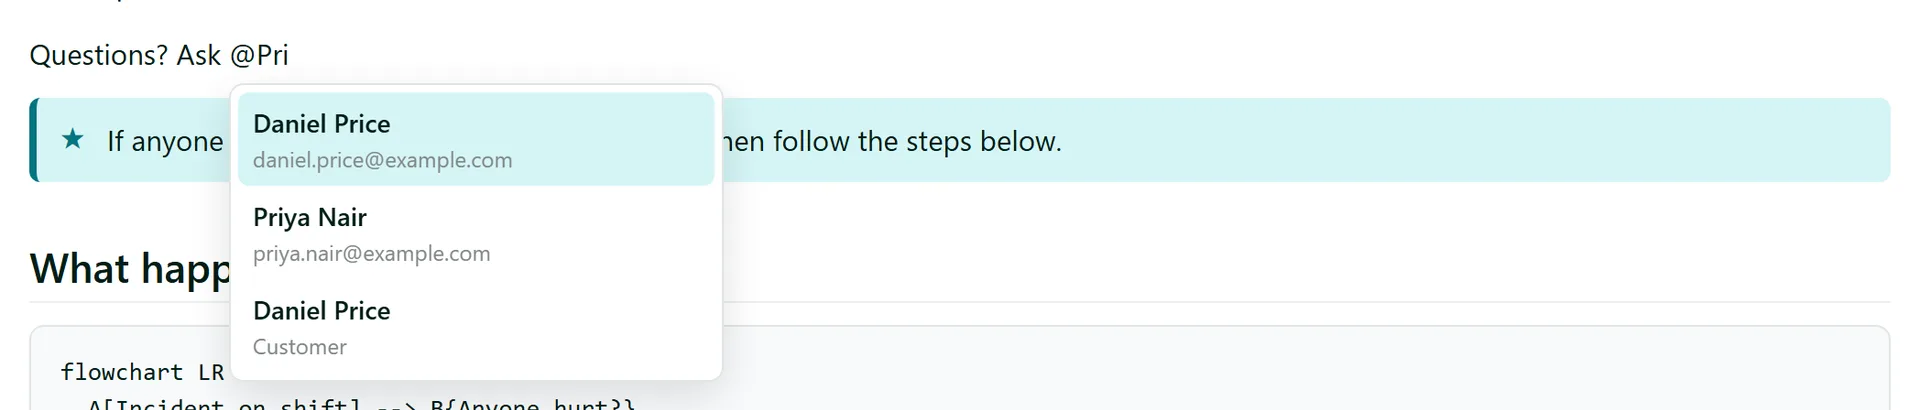
Type @ in the editor to mention someone. The list offers members of your organisation and, once you type part of a name, people, customers, projects and assets you have access to. A mention of a record links to it; a team member you mention gets a notification the first time the page is saved with their name in it.
Tips
- Make a policy library its own space, so you can tag it and use Read & sign to have staff acknowledge each policy - see Wiki History, Comments and Read & Sign.
- Pick the page a space opens on with Make space home page in the page's ... menu.
- Archiving a page moves it (and its sub-pages) to the space Archive, where you can restore it. Only archived pages can be deleted.
- Export Markdown in the page menu downloads the page as a .md file. Underline and highlight are not kept in Markdown.
- Images you add in the editor are stored with the page under Attachments, along with any other files you upload there.
Need More Help?
Related guides: Wiki History, Comments and Read & Sign, Team Access and SSO. See our FAQ section or email support at [email protected].